DIY Raised Cedar Garden Beds
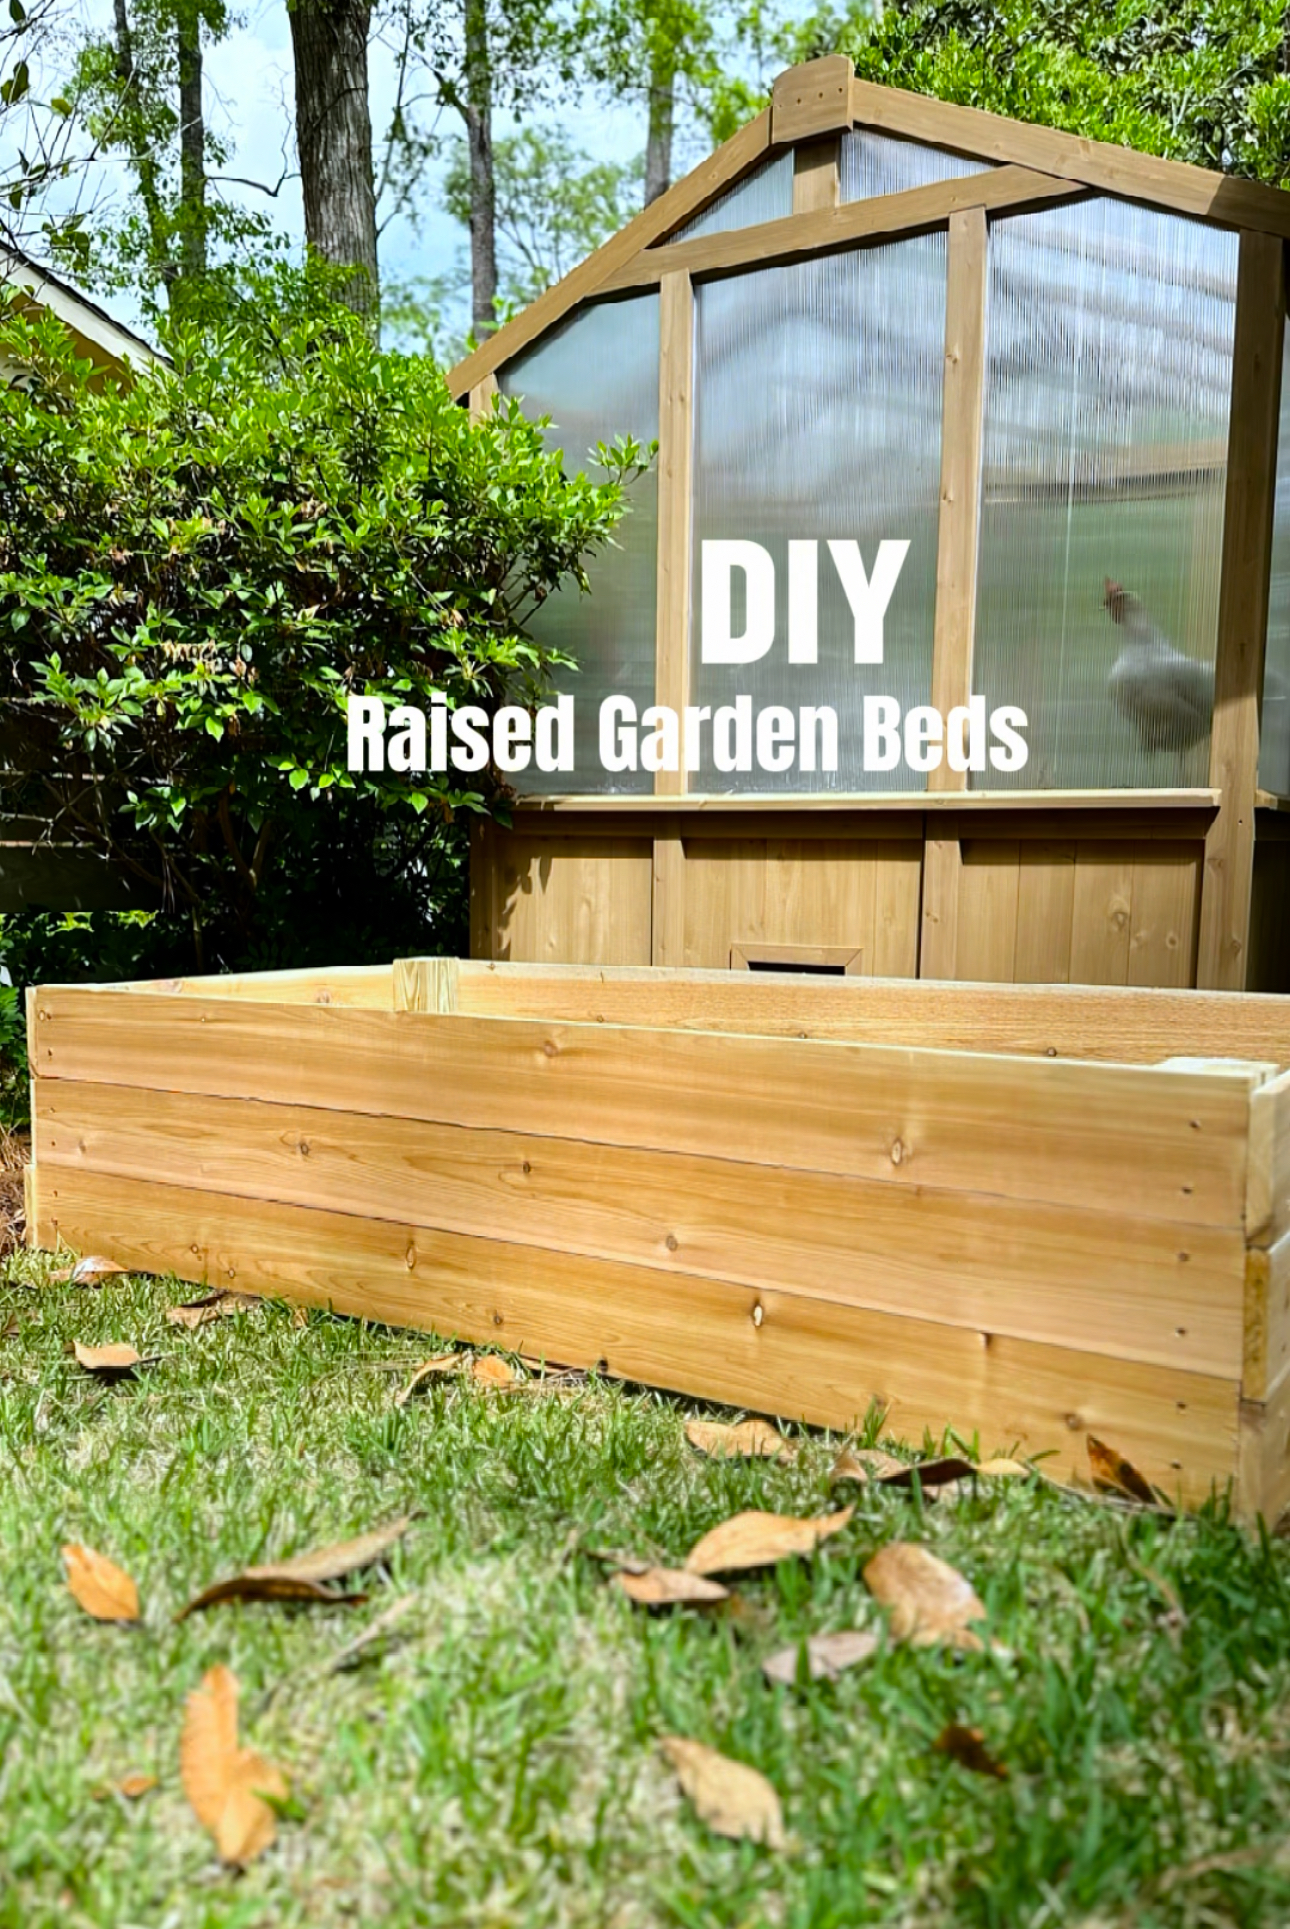
Tis the season for DIY Raised Cedar Garden Beds, am I right? I recently moved into a cute little bungalow and have been fixing it up. The inside is pretty much done. I’ve been working on the outside, and it’s looking so wonderful!
I take so much pride in my little abode. I always have a project going on. Can’t seem to sit still! A few weeks ago, I built my chicken coop for my girls who are happy and laying eggs, I had sod put down, string lights (because that makes everything better), and now, my DIY Garden Bed! I’ve included a video tutorial on how I make them as well as s Shopping List with links to everything below!
Shopping List (with links):
- (5) 1x6x12 cedar boards
- (1) 4x4x6 pressure treated post
- 10×3″ deck screws (or similar)
- Drill (I linked to mine. It’s GREAT and comes with charger and battery)
Step By Step:
- Have the sweet man by the cutting station at Lowes cut your cedar boards. You’ll need (6) at 6′ long and (6) at 3′ long. Those are your sides and ends.

- Cut your 4×4 into (4) pieces at 18″ inches each. These are your four corners.
- Stack 3 of your 6′ pieces with each end lining up on either 4×4. You want them flush on either end and on the top. The 4×4 will stick out a few inches on one end. That’s the base.

- Screw 2 screws per board on either side.
- Once both sides are complete, screw a 3′ piece to either side to get your box stable. Continue with the rest of the 3′ boards.

- Flip it over, and you’re done!
- It takes about 1 cubic yard of soil, which from my local garden store is $35.

And there you have it! DIY Raised Cedar Garden Beds. So simple and so quick to come together. Happy planting!

