Easy Board & Batten Project
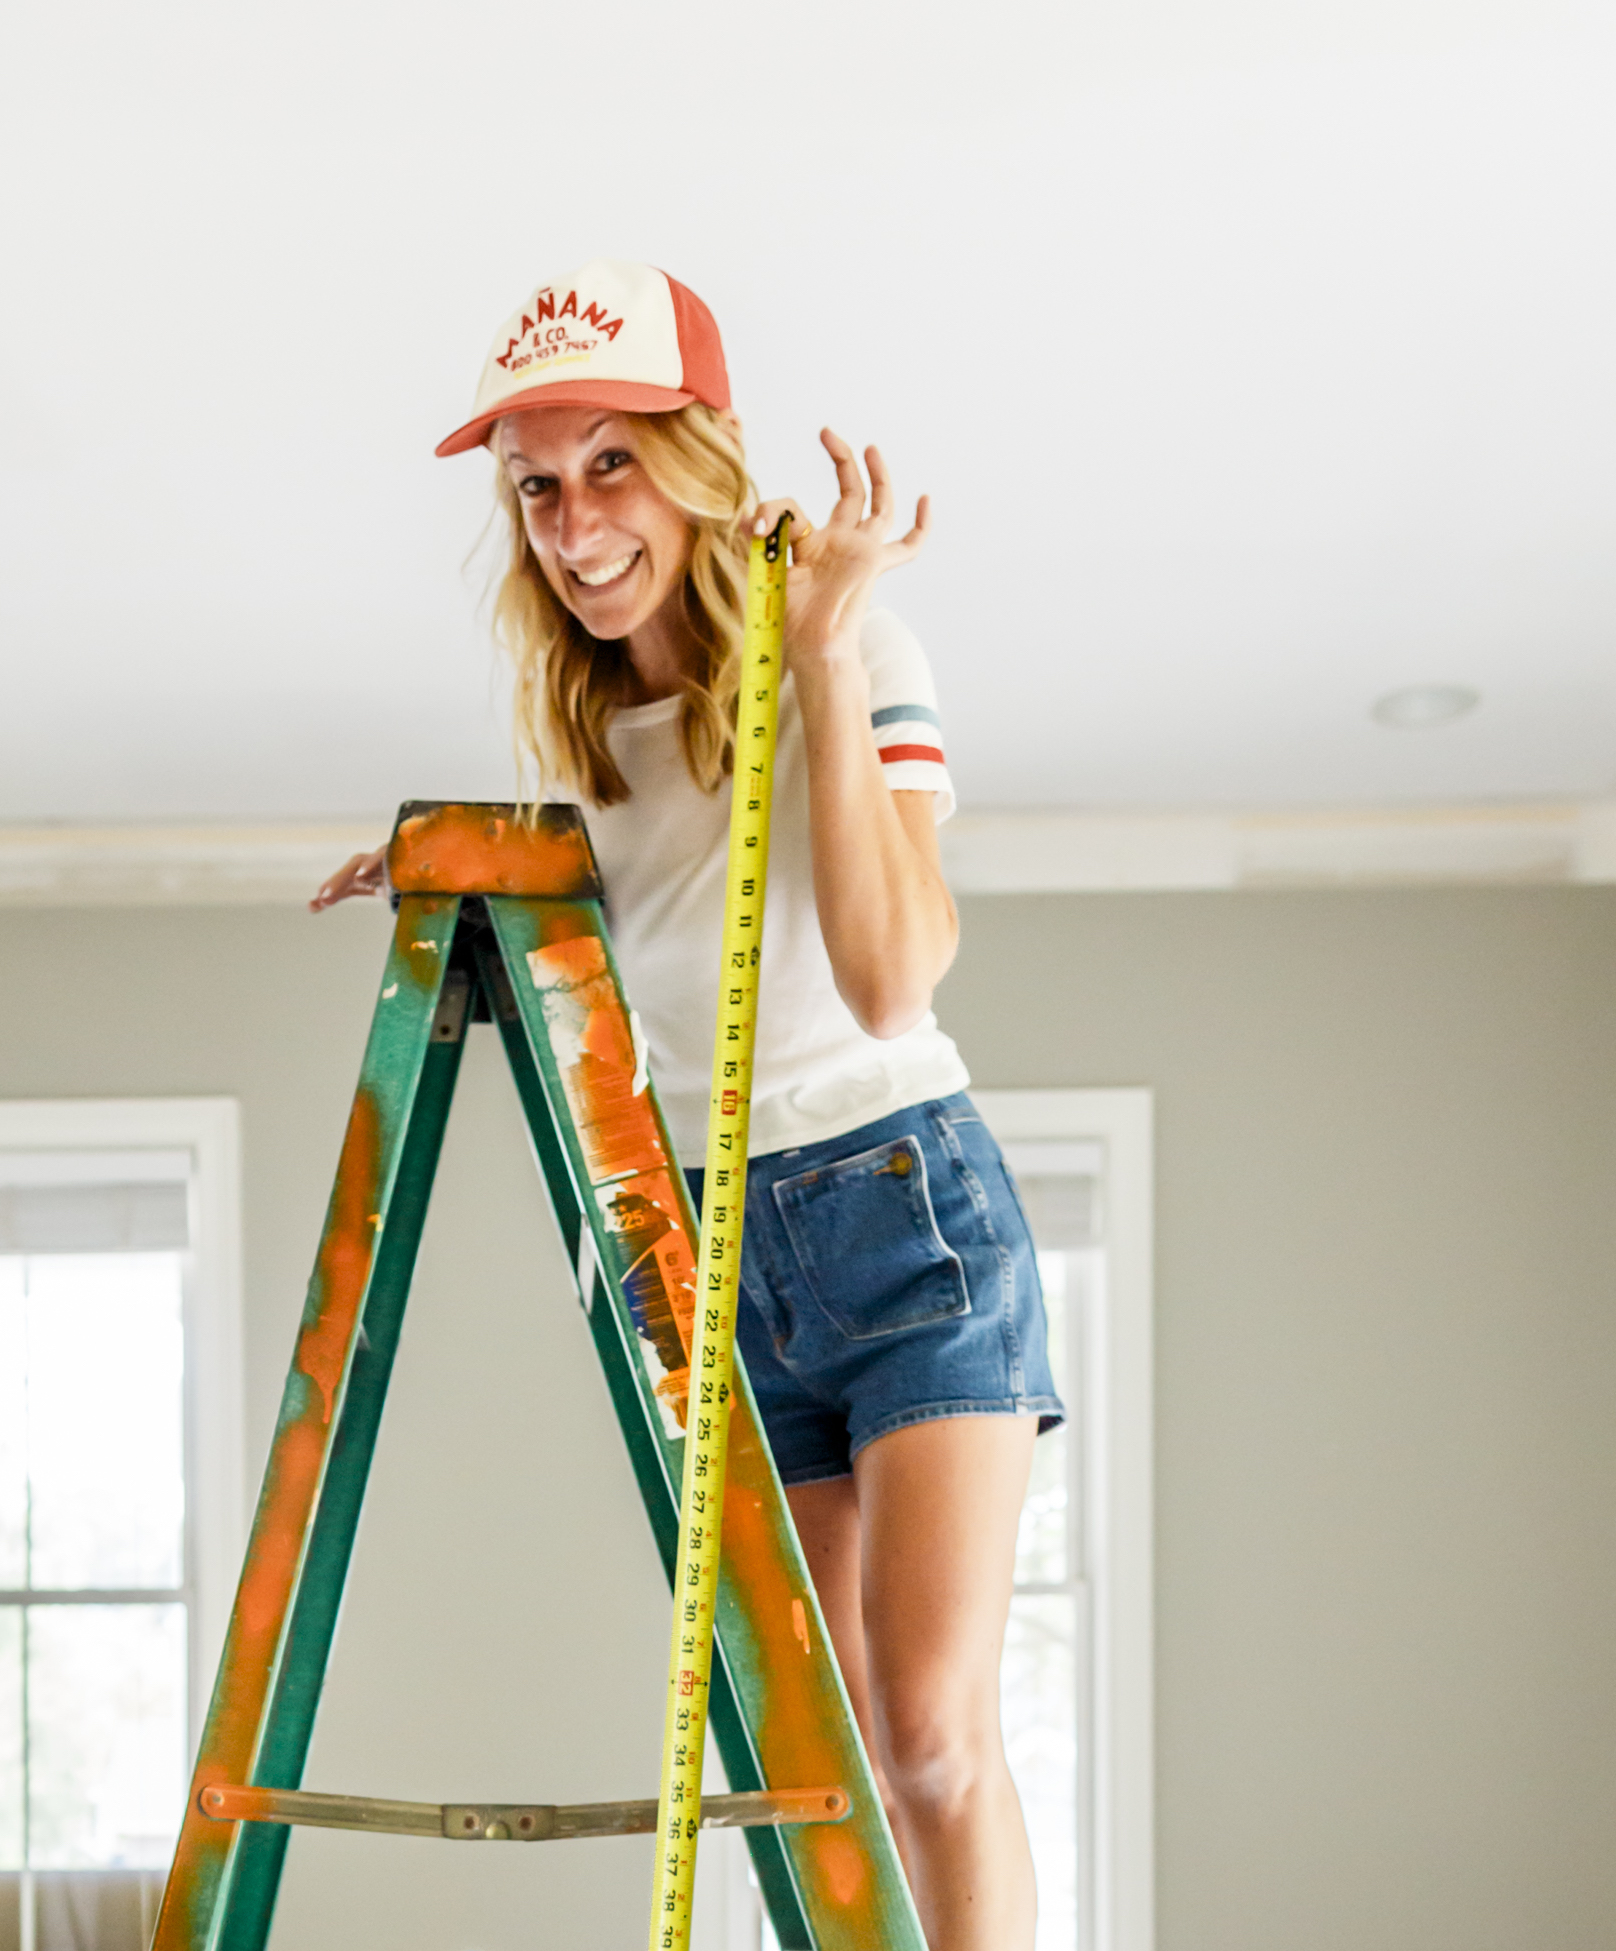
Hello, friends! This weekend, while the kids were with their dad’s, I took on a project to transform Turner’s room. I love a good DIY project. Up to this point, his room was just a place to put all of the things that didn’t have a home. So, I decided on an easy Board and Batten project to make his room feel more special! It really is simple if you make a plan and have all of the tools. I have step by step photos and links to everything you’ll need! This is what I did…
First off, I planned out the sizing and materials I would need. I used 1×4’s for the base and top pieces and 1×3’s for the vertical batten strips. For corners, on the long side, I did a 1×3 and then, butting up to it, I used a 1×2. For the cap piece, I did a 1×2 to create a small ledge. It came out GREAT! Check out the reel that I just posted 0n Instagram!
MATERIAL LIST

ONE | TWO | THREE | FOUR | FIVE | SIX | SEVEN | EIGHT
SHOPPING LIST (linked above & below)
- • 1x4s
• 1x2s
• 1x3s
• Caulk
• Nail putty
• Sanding block
• Saw (I used circular but chop saw would work great)
• Speed square
• Pencil
• Tape measure
• Nail gun
• Air compressor
• Level (for top and vertical pieces)
• Paint Brush & Roller - PAINT!! I used Winter Way by Behr
TIPS
- Length for each board depends on spacing and room size.
- Pre paint the top ledge piece so you can run a bead of CLEAR caulk against the wall after install then touch up paint on top. This makes a PERFECT straight line
- Use level for top horizontal piece and vertical pieces.
- Measure each vertical piece, as most floors aren’t perfectly level
ORDER OF EVENTS
- Pre-paint 1×2 ledges on top and side. Let dry
- Demo baseboards
- Measure, cut & install base trim
- Use level and install top piece at your desired height
- Map out vertical slats (I did 20” OC and made sure to avoid outlets). Mark on wall with pencil
- Install corner piece on first wall and work your way in (1×3 on flat side and 1×2 butting up to it)
- Measure, cut, & Install vertical pieces
- Caulk & fill nail holes. Let dry completely
- Cut and install top ledge. Run clear caulk against wall on top and fill nail holes minimally to avoid sanding over paint. use brush to touch up top ledge
- Sand all nail holes
- PAINT!!! I used Winter Way by Behr.


BEFORE

AFTER

Board & Batten is really a simple and inexpensive way to upgrade a room. It made a HUGE difference and feels personal to him. Feel free to reach out with questions!
XOXO
Em

